Frames for Lulu
Here's the process I use for making picture frames.
Milling
The wood for the frames came from a Sugar Pine in the middle of the property. It was weakened by many years of drought and insects and broke last year during a heavy snowfall.
I cut the broken tree into log sections about 12' long. Those were milled into 1¾" thick slabs which I later cut to dimensional sizes on the table saw. Those boards were run through the planer to get dimensional sizes.
Cutting the frame boards
Ripping the boards to ⅞" thick
The borads were of various thicknesses so the first thing I did was rip them all down to ⅞" thick.
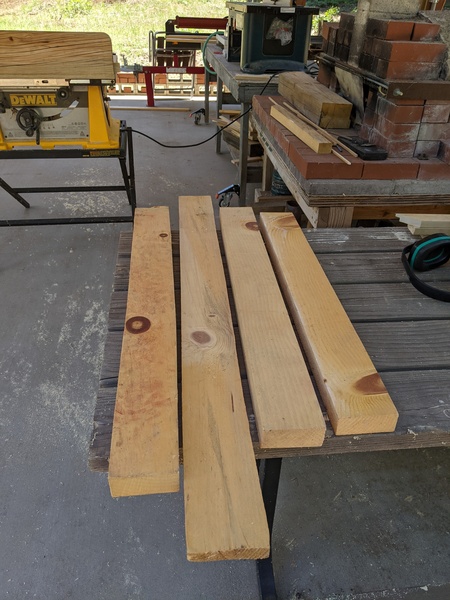
Rough cut boards 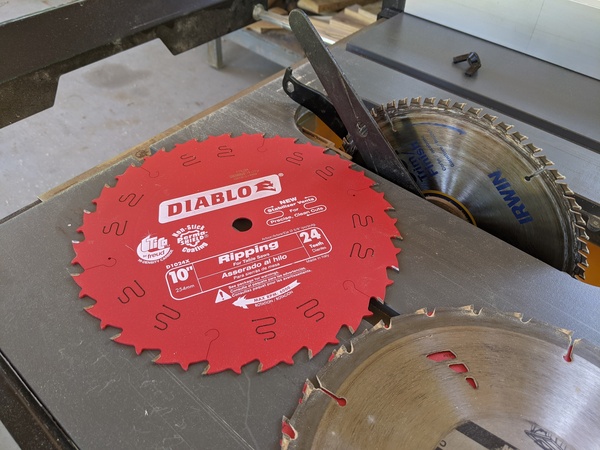
Install the ripping blade 
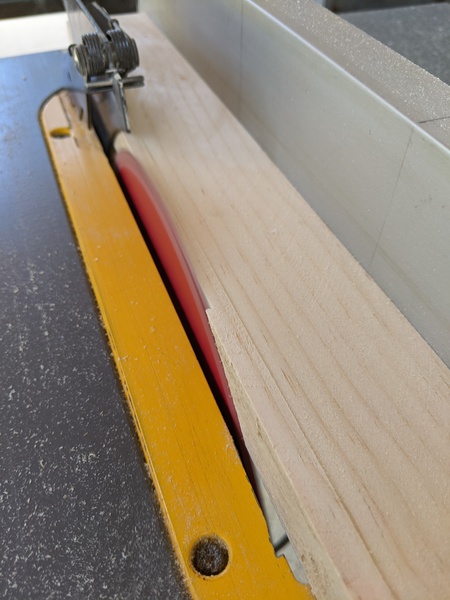
Ripping the board down to ¾" thick 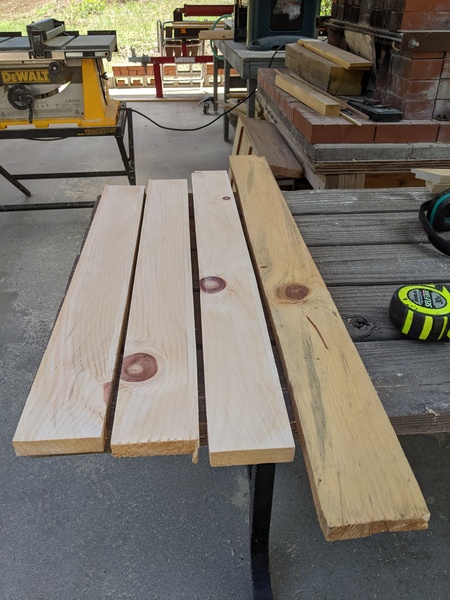
The boards after ripping
Ripping them to 2¼" wide
The boards were also differing widths, so with the ripping blade still in the saw, I cut them all to the same width. This step also makes the long edges straight and parallel.
Ripping to constant width 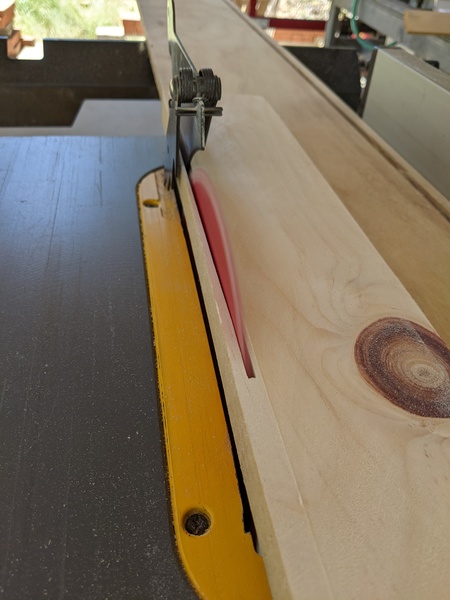
Ripping to constant width 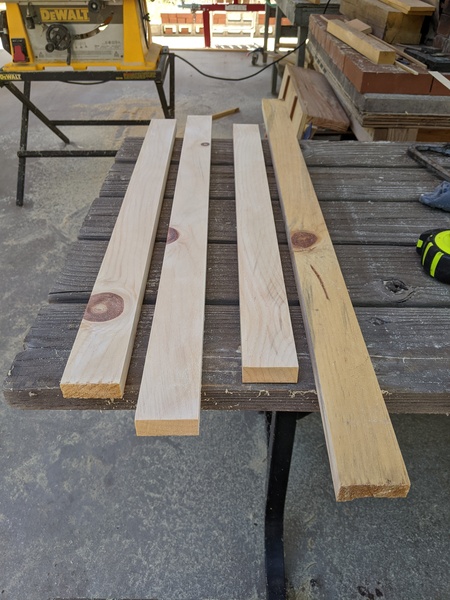
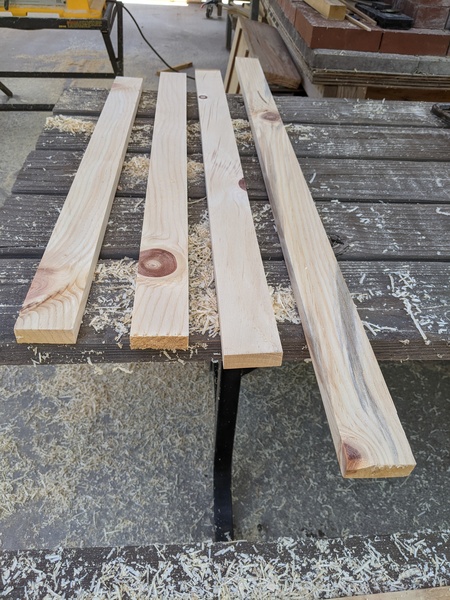
The rough boards after ripping to width
Planing the boards to ¾" thick
Planing the boards will make them all the same thickness:
Cutting the notch for the glass, artwork and mat
A notch was then cut out of each board to accept the glass, artwork, and mat backing.
Setting the width to ⅜" 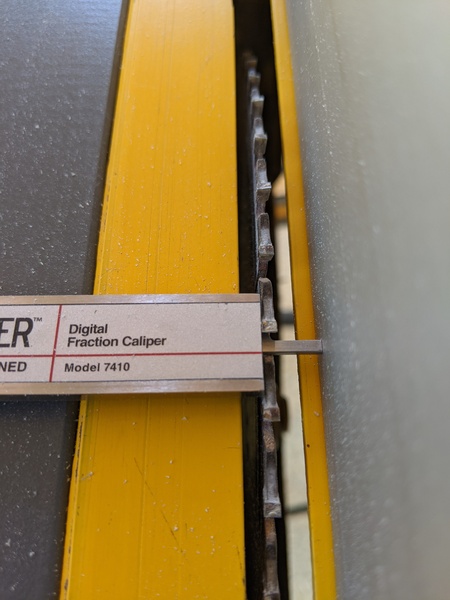
Setting the width to ⅜" 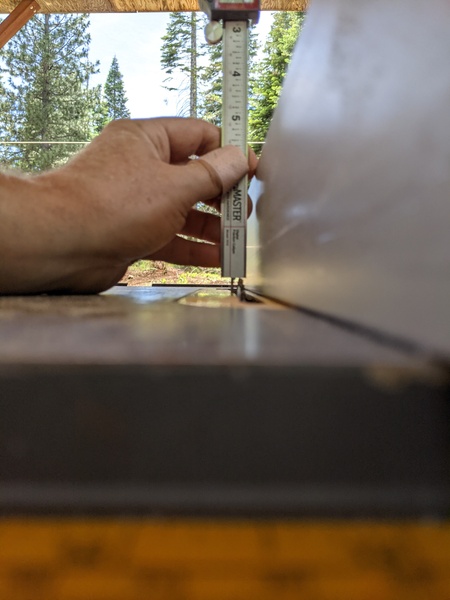
Setting the depth to ⅜" 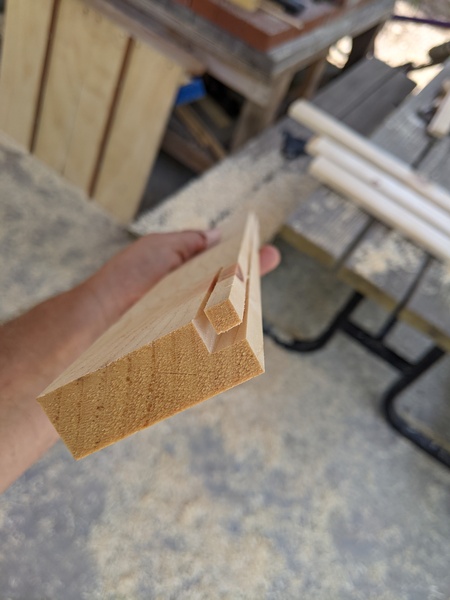
End-shot of the notch 
The boards after being notched
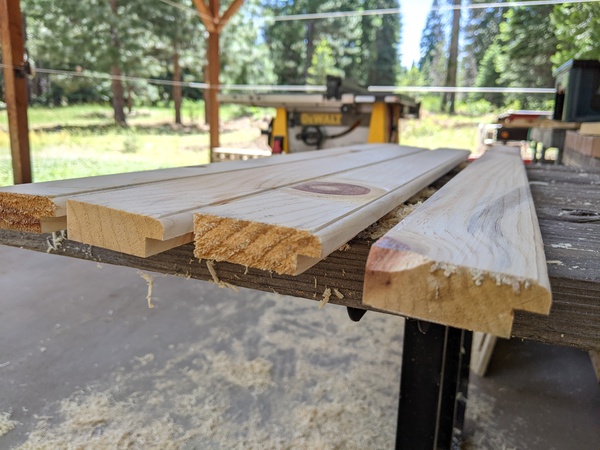
Cutting a decorative edge for the inside of the frames
The boards were then run through the router to make a decorative edge on the front of the frames.
Making the frames
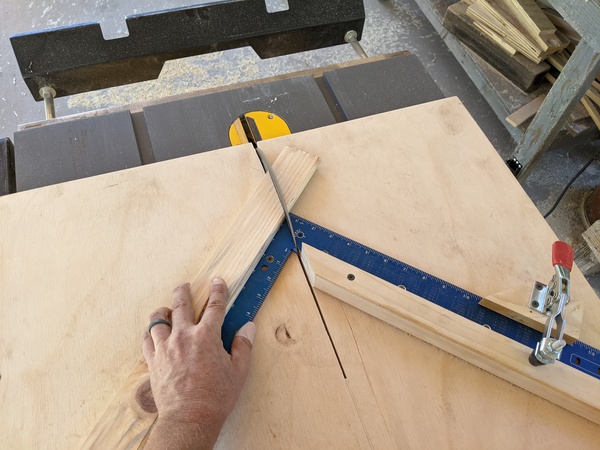
Using a miter jig to cut the frame pieces
I used a miter jig to cut the corners of each board. The jig makes it easy to size the boards to the exact dimensions of the artwork.
The first 45 degree cut 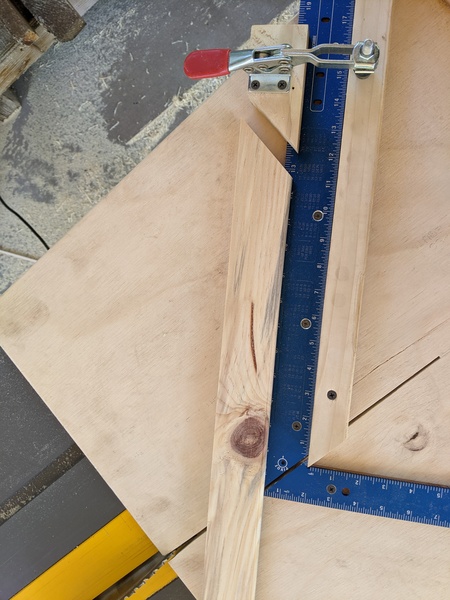
Cutting the frame piece to the exact length 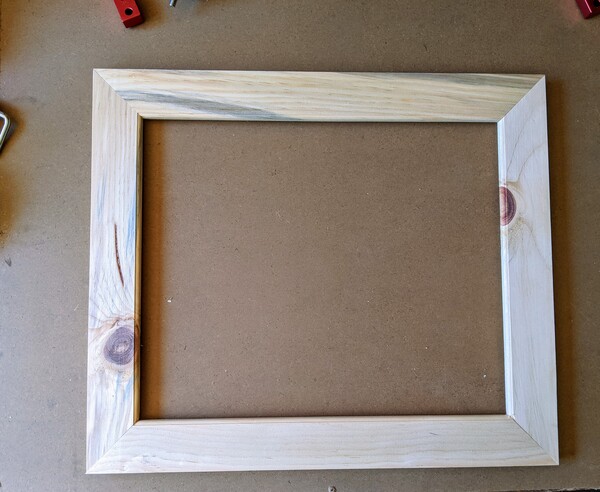
Checking the cuts meet up as expected
Assembling the frames
Gluing the frame pieces together
The frames were assembled with glue and painter's tape was used to hold the frame's shape while the glue dried.
One corner of the frame with painters tape to hold it together 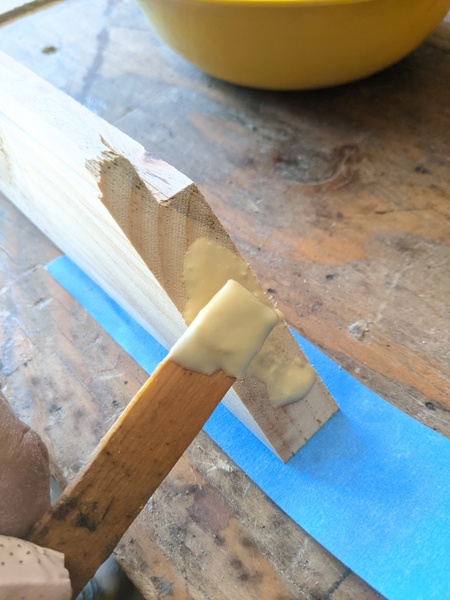
Gluing the corner 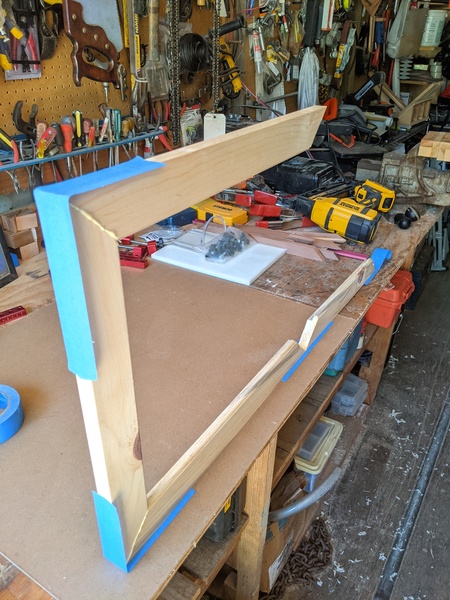
The painters tape is strong enough 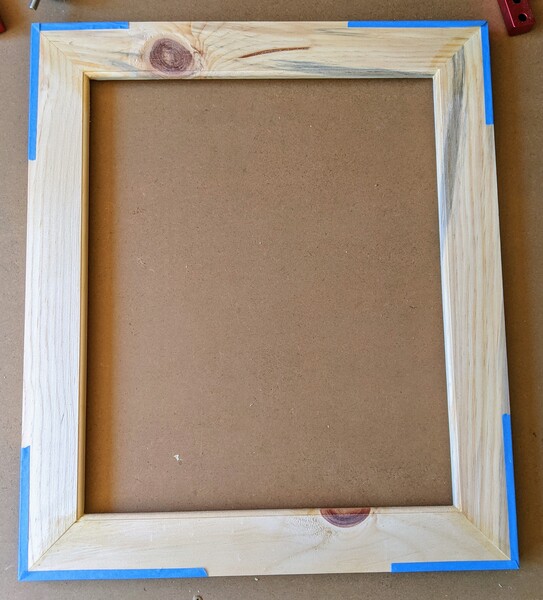
The frame is now left to dry
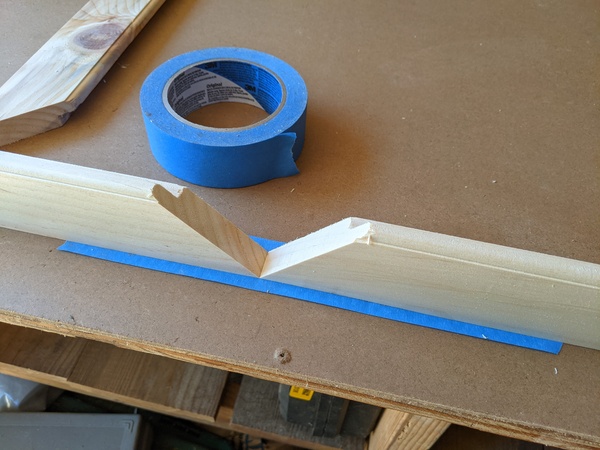
Strengthening with splines
Splines are used as both a means of making the frames stronger as well as being visually appealing. Once the glue was dry, I used a spline jig to cut each frame corner to accept splines. I am using a flat-top blade to get a closer fit between the spline and the frame
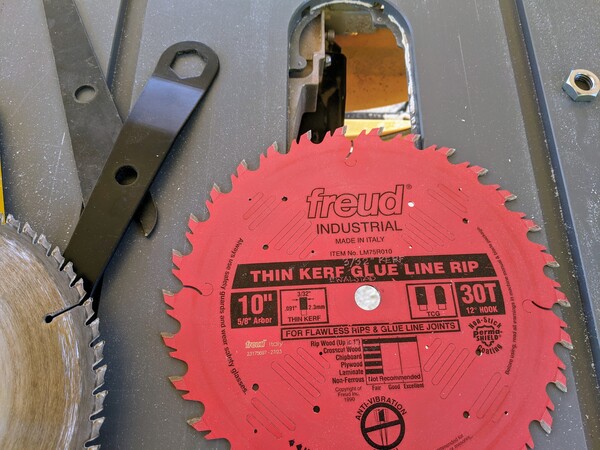
Installing the flat-top blade 
Setting up the spline jig 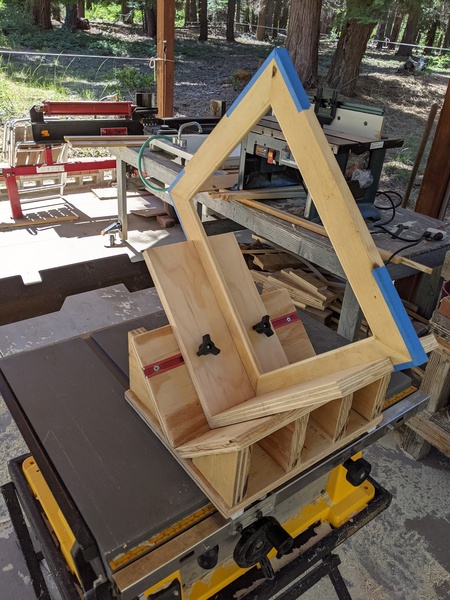
The jig holds the frame securely in place 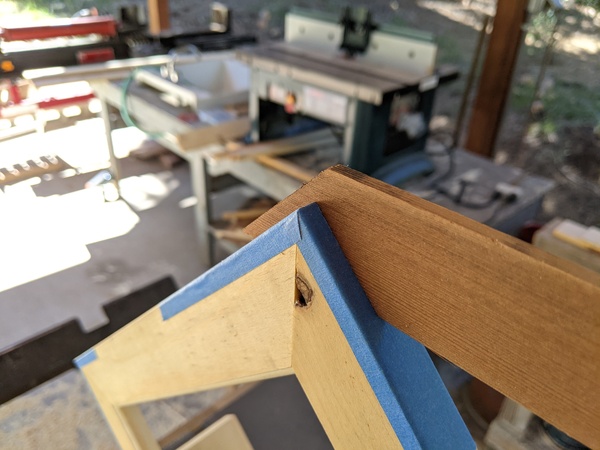
The spline fits snugly
The splines were made from Redwood, which gives a nice contrasting color and still strengthens the frame. The splines were glued into place. Once dry, the excess spline material was removed using a hand plane.
Finishing the frames
The frames were then sanded with 100 grit and then 220 grit sandpaper. Two coats of shellac were then applied, sanding the high spots down with steel wool after each coat of shellac.

Sanding 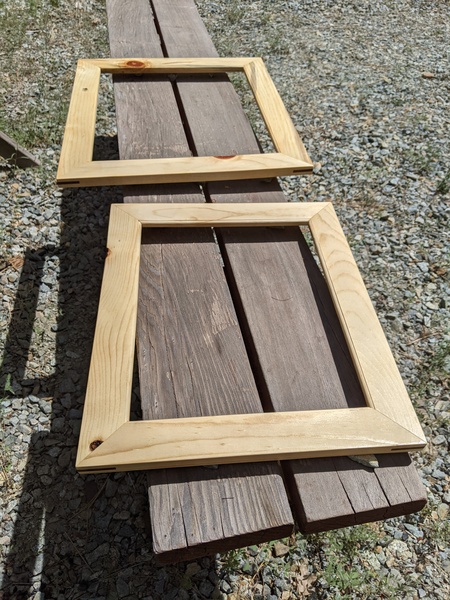
After the first coat of shellac 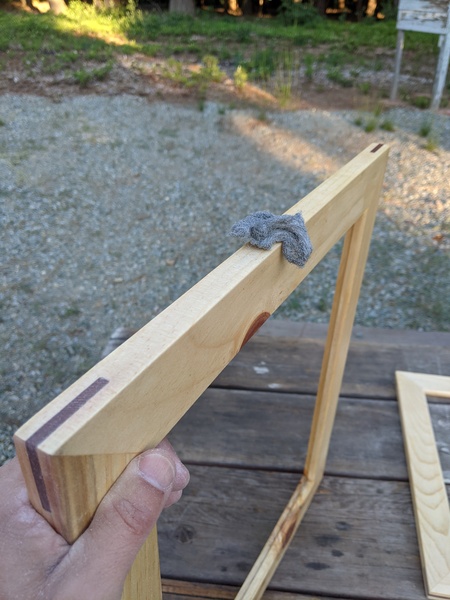
Smoothing out the shellac with steel wool
A friend of mine suggested that I try finding used pictures at a local second-hand store as a source for glass. They are cheaper than buying new glass and sometimes the mounting hardware can be re-used, too. And, one less thing going to the landfill. My local Good Will had a lot of frames available. I paid between $3.00 and $6.00 for each one. I used a basic glass-cutter to make the cuts, nothing fancy there. The glass needed cleaning, too.
I took the frames to a local mailbox store to help get them wrapped and shipped out. The lady there did a terrific job and helped me find the best shipping rates. For two large frames and one small frame, the shipping cost was just under $100 from northern California to New York.